So I built a speaker cab...Part 1
- Alex S

- Dec 1, 2016
- 4 min read
In my time away from this site, one of my projects was to build a custom speaker cabinet to house an Eminence Private Jack that I own. I thought it would be a fun little woodworking project (one of my other hobbies) and along the way I would get opportunities to pick up some new skills. I've never worked with leather or Tolex before so this was going to be interesting.
Building the frame

Design The first step was to design the cabinet. I got inspiration (i.e. ripped off) from a Boogie 1x12 cab design (Boogie Widebody Compact Cab). I grabbed rough dimensions and worked out what the lumber needed to be sized to. This part can be quite easy, because there are obviously many designs that are easily accessible out there. I wanted an open back cabinet, and in my opinion this makes the dimensions/design a lot less critical. If it was a closed back cabinet, I believe a lot more planning would be required given the nature of the beast.
Choice of lumber
The lumber used was pine - the kind that is cheap and readily available. Those were actually two big factors in settling on the type of lumber to use. It needed to be cheap because I was going to need a lot of relatively wide boards, and it needed to be readily available in the event that I mess something up and need some more. Yes, of course "tone" matters but solid pine has been used in many a legendary cabinet, including early Fender cabs. In any case, this was going to be a learning experience and I was prepared fail miserably as much as I was prepared to be pleasantly surprised. Fingers crossed for the latter outcome though.

Woodworking skills needed
I proceeded to do all the woodworking required to get the outer box assembled. Obviously being interested in woodworking, this stage of the build appealed to me. However if you are not into woodworking, I honestly would not recommend the dovetailing. Here's why:
It's going to be covered in Tolex, so you won't see your handiwork anyway (you won't see any mistakes either, which worked out well for me)
It's a pain in the %$# if you're not interested in picking up the skill
Other joining methods offer more than enough joint strength required in this application
If you decide against the through dovetailing joins, easier alternatives (and associated drawbacks) could be:
Butt joints - either with glue/screws or both. Could also add a block on the inside for added strength. These are quick joints and probably the easiest however not as strong as the dovetail because it is essentially joining end grain to long grain.
Pocket hole joints - these will definitely be strong enough and will not budge especially if glue is added to it. They are also very quick to complete. Drawbacks are that you will likely need to purchase a pocket hole jig, and you need to be careful if you are going to roundover the joint, which we will be doing in this case, as the pocket hole screw could extend beyond the roundover profile.
Biscuit joint - like the pocket hole, you need a special kit for this. I'm not sure that you'll get more strength compared to a simple butt joint either.
Mitred joints - "prettier" than the butt joint however there is some set up time with getting the ends of all the boards mitred. If this is not done perfectly the frame will not be square. I would also have some concerns with strength if the corners are going to be rounded over because this will chip away at the joining surface thus reducing the strength of the join.
Of course there are many other types of joints but I've only listed the ones that I think are easier than hand cut dovetails.
If you DO decide to do some dovetailing, I'll try and roughly go through the process. More information can be easily obtained elsewhere. A good place to start is Paul Sellers' blog:
Here we go:
Dimension the lumber using a handsaw to cut to size. Use a shooting board with a plane to make sure all the edges are square. What we want to end up with is the 4 boards required for the frame cut to size and perfectly square.
Start laying out those dovetails. I did this by marking the depth of the dovetails using a marking gauge. I then laid out the spacing and angles using a pair of dividers, dovetail marking guides and a square. If there are more questions about this stuff you can email me but I won't go into detail here.
Cut out the dovetails. This can be achieved using a tenon back saw, and chisels. The process is basically to cut down to depth using the saw, then chisel out the waste.
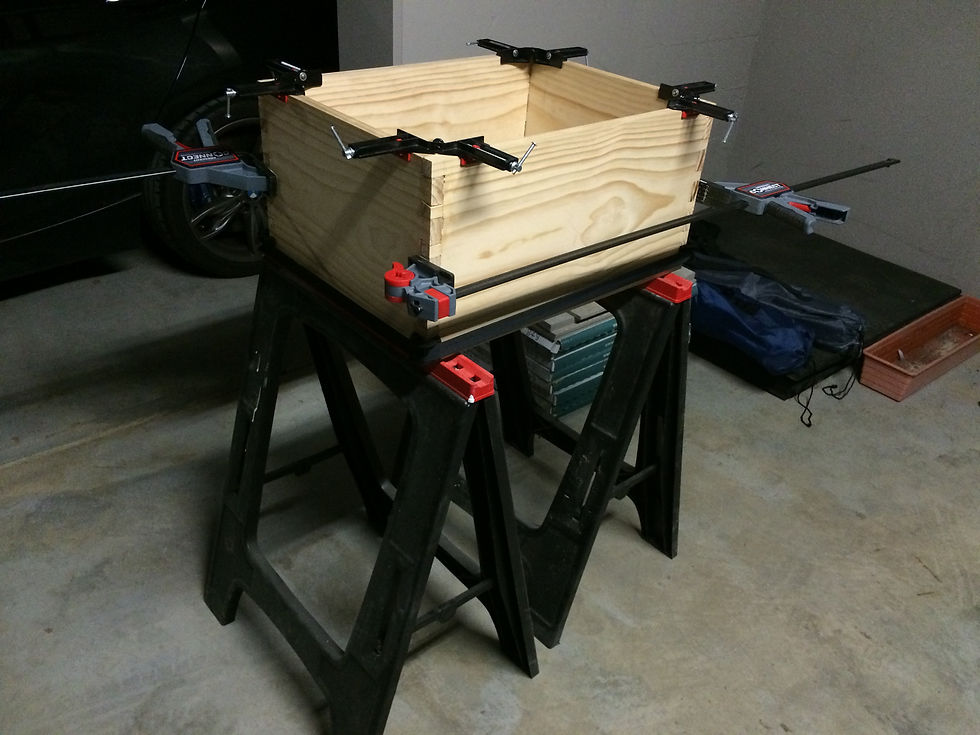
Dry fit, make sure all the angles are correct and there are no glaring errors. If not, then proceed with the glue and clamping

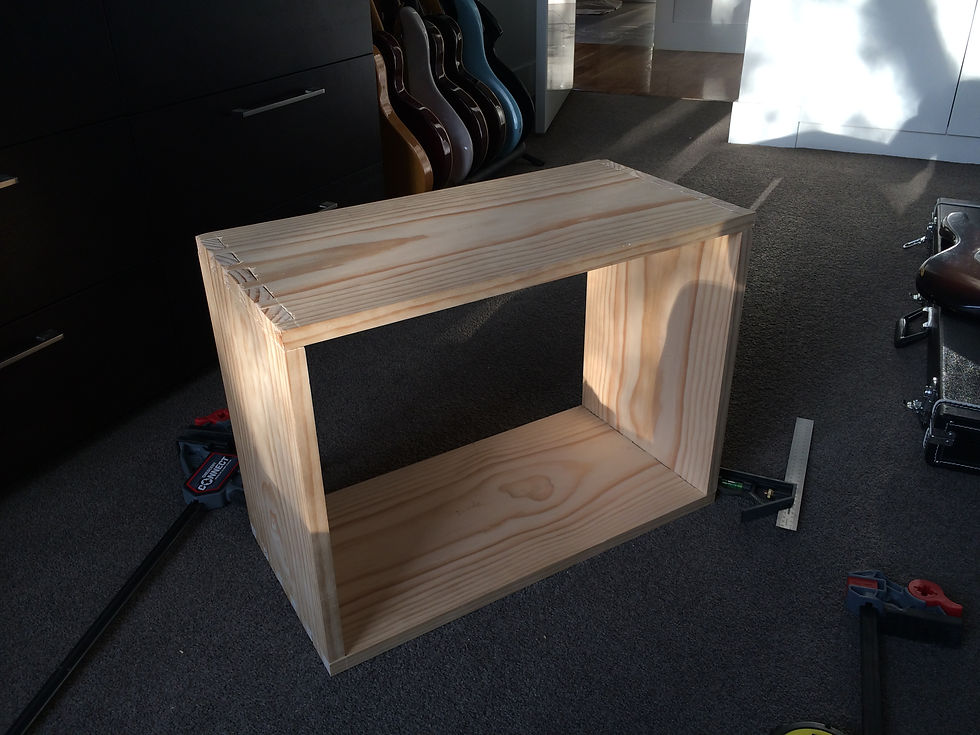
If all goes well and the gods of woodworking are smiling down upon you, you should get a perfectly square frame such as this:


To be continued!


Comments