So I built a Pedalboard...Part 4
- Alex S

- Dec 10, 2016
- 4 min read
This will be the final post on the DIY pedalboard. There are only a few tasks left to do before you can start the nightmare of arranging pedals on this thing.
We left off last post by staining and sanding the completed frame to at least 240 grit. To be honest I probably went higher, up to 800 maybe, but I'm not sure that you need to do that. It would depend on the finish you want to use.
The finish I decided on was shellac. There will be pros and cons to whatever finish that you choose to use, so read up and choose accordingly. With shellac, the pros are that it is easy to apply, easy to repair, non-toxic, quick drying. The cons are that it's not the most durable finish out there and any alcohol spilled on it will dissolve the finish. This should be a consideration if you are gigging with your pedalboard. If you need durability, it may be better to pick something like polyurethane.
To apply the finish, I used a french polish method. I don't know if it is STRICTLY a french polish method or a variation/cheat on it. But basically my process was:
Create a french polish pad (you can look up how to do this on the internet) using some linen and cotton pads
Apply first coat to the frame using a brush. I used a 1 or 1.5 pound cut of shellac and this acted as a pore sealer.
Wait till it has cured and sand down again
Apply 2 pound cut of shellac using the french polish method with a loaded pad. Keep applying more and more coats until you are happy with the quality of the finish.
Burnish the finish using the pad diluted with more methylated spirits
Most of this information is available freely elsewhere, you may find variations though. I encourage you to try it out, this method has worked for me in the past and I am happy with it so that's why I used it. One tip I would give is make sure you get proper methylated spirits. Most hardware store methylated spirits are mixed with too much water (even if it does say 95%). Get your spirits from a woodworking company such as Carbatec or Timbecon (no experience with their product though).
Also, with regards to the colour, keep in mind that the shellac that you pick may have an influence on the final colour of your project. I used amber shellac - there are blonde ones out there that do not influence the colour too much.
Finally, with the shellac that I used I dewaxed it myself by just letting it settle until the wax separates and sits on the bottom of the container. Then just skim the top. You can purchase dewaxed shellac and I'd assume you would get better results, but this is the way I've done it.

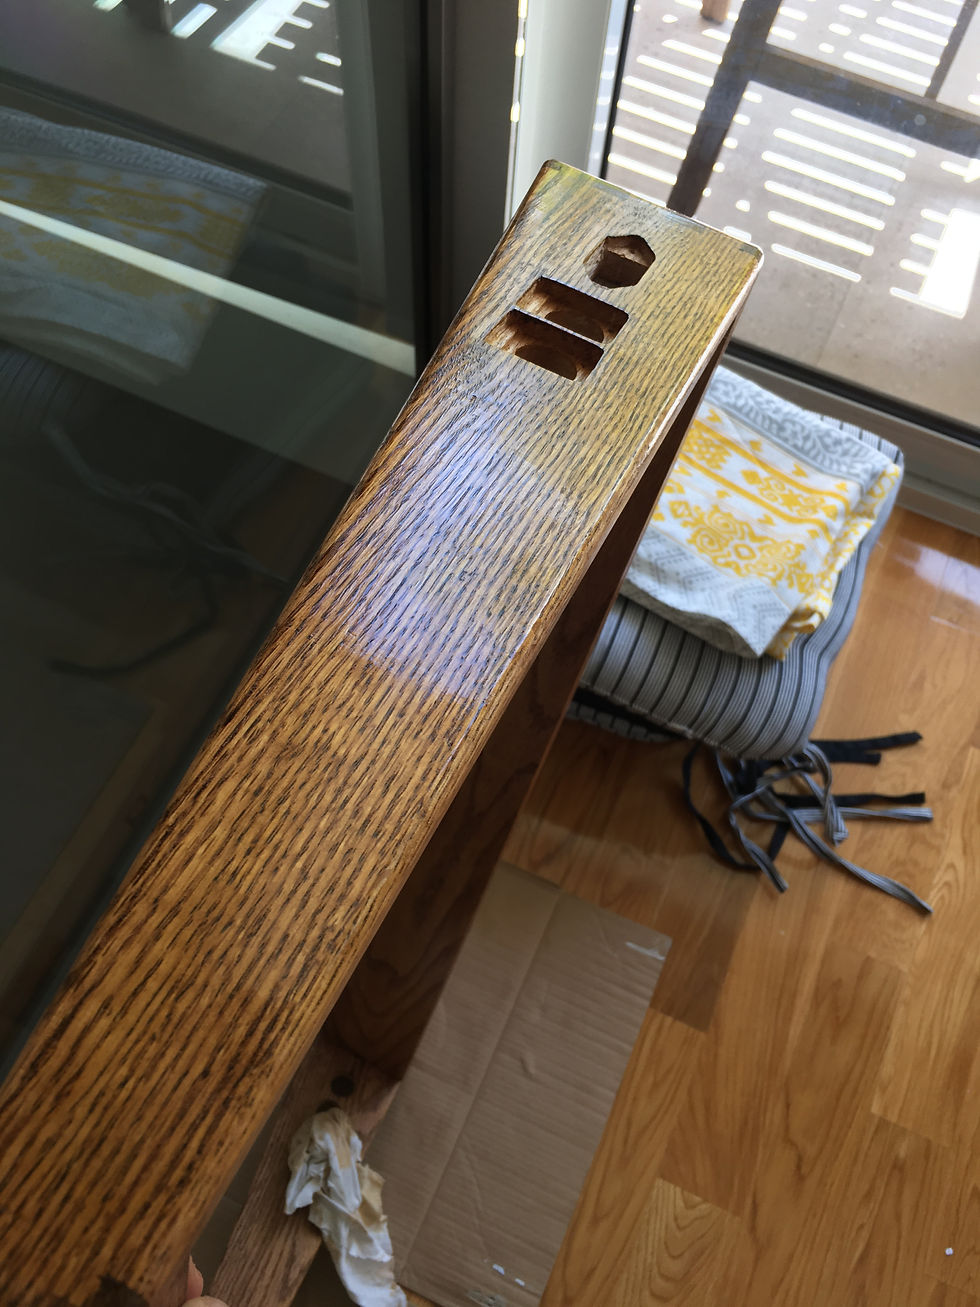
Once you're done you can mount the hardware and you're pretty much done with the frame. You can move on to preparing the top board and mounting it to the frame.
For the top board, I used a 12mm plywood board. It was routed with these channels to allow the audio and power lines to go through them. To be honest I'm not sure if this is the best design so choose whatever works for you. I tested out the timelapse on my camera when routing so I do have some video of it:
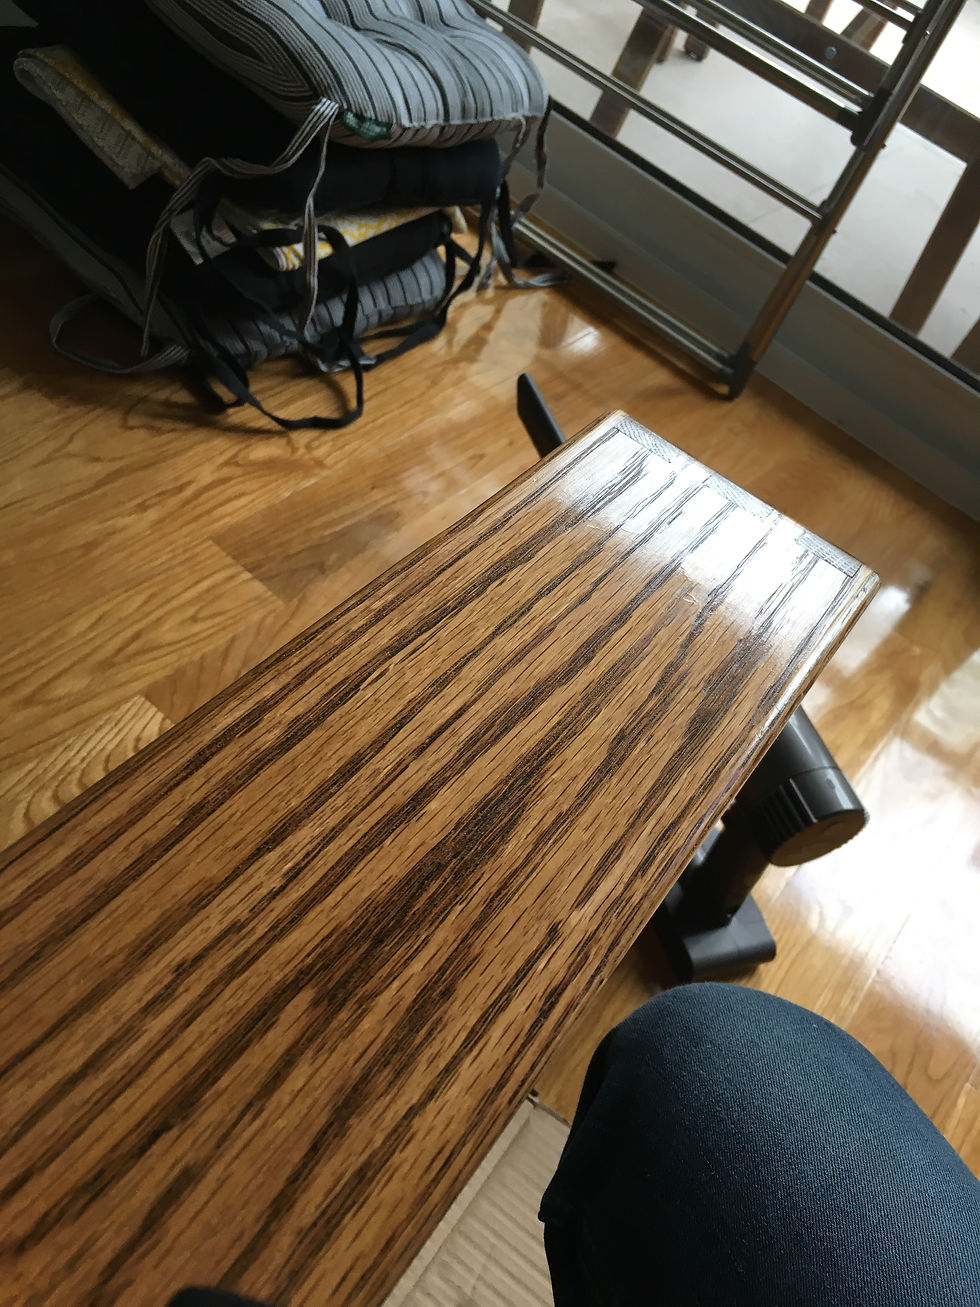
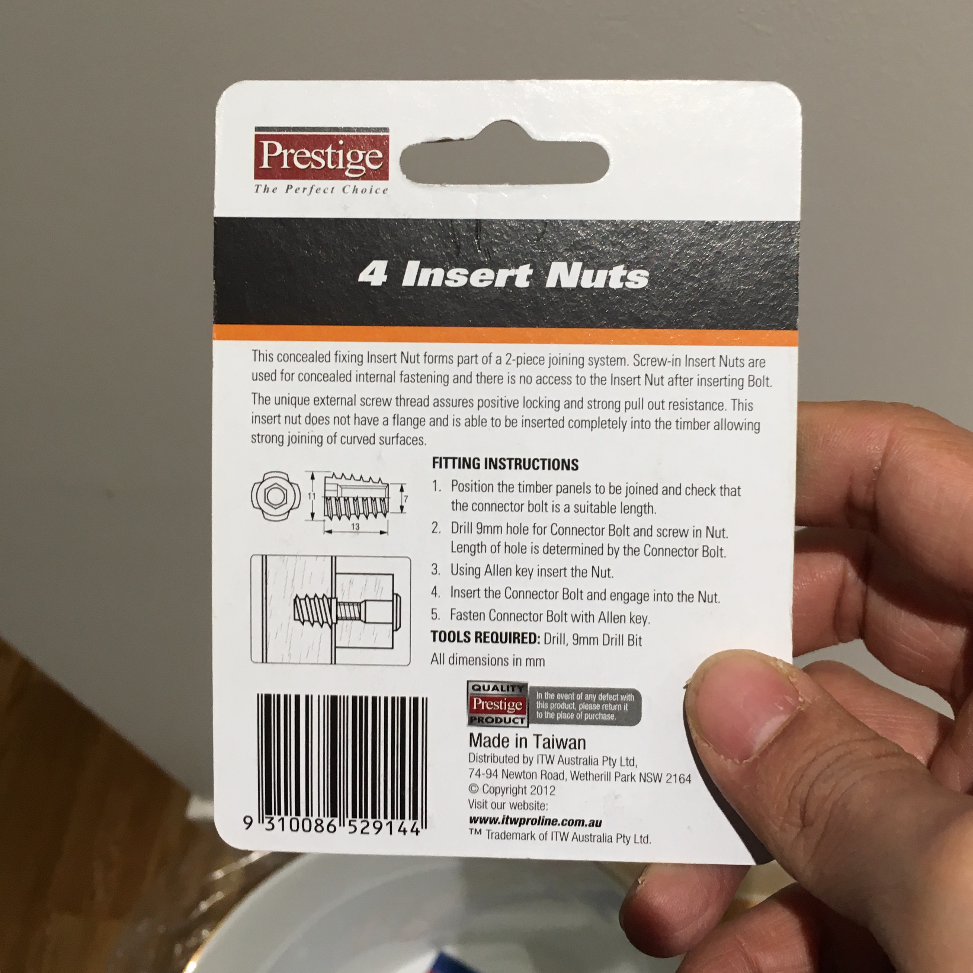
After finishing the channels, drill holes where the mounting bolts will go. I planned to mount the thing using bolts and insert nuts. To do this, mark and drill the holes where you need them to go. Then countersink them so that the bolts will sit flush on the top board surface.
Once the holes have been drilled, place the top board on the frame then mark out where the insert nuts need to go. Install insert nuts as per the instructions.
The mounted top board looks like so:

If you are happy with the fit, then it's time to velcro up! As an extra step I spray painted the top board matte black. This is in case I miss any spots with velcro, they won't show up as obviously. I used Velcro brand hook and loop, I think it was the heavy duty type. If you can use low profile velcro that stuff is supposed to be really good. The velcro that I sourced came in strips, so I just laid it out and covered the board with it. You can also get sheets of velcro, this could work out better.


You're pretty much done after that. There are a few finishing touches though. Cut lines where the channels are so that you can access the bottom of the board.
And if you are planning to mount your power supply to the bottom just go ahead and do that. It's plywood so you don't even need to drill pilot holes. For my particular power supply, mounts were not provided so I DIYed a solution using aluminium brackets that I used a hacksaw to cut out.

Don't forget to solder up the Neutrik connectors and guess what....we're done!


Comments