Fernandes FRT bridge - Trem Block Replacement
- Alex S

- Oct 2, 2023
- 4 min read
Updated: Apr 10
One of the upgrades/replacements that I made to the Fernandes FR-95 that I own was to the floating bridge system. I actually like the Fernandes floating bridge system with their horizontal fine tuners, but back in the 90s I think "import guitars" in general were not known for using the best hardware. In this case the tremolo block in the bridge was pretty tiny and made of a grey, unknown metal - definitely not steel but I don't know if you could class it as "pot metal".

Figure 1: The original bridge installed
There was a problem though: you couldn't get drop in replacement for these old Fernandes bridges, as far as I could tell anyway. They were not standard sized and hence you couldn't use a regular Floyd Rose one in its place. Upgraded 3rd party trem block replacements are also not cheap and I wasn't game on buying one in and going through the hassle of returns etc. There was only one other option...DIY.
Now, to each their own and you may have differing opinions about how the tremolo block mass and material affects your amplified tone, if at all. For me, it was a case of let's just try it out - it may not make a difference but it's a pretty cool project all the same and I was PRETTY SURE I would learn something along the way.
I did some research and managed to source a brass flat bar from a retailer on eBay:
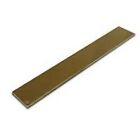
This was the point where I could see the project from start to finish and I knew I had a fair of success. Clicked on the the purchase button and when it arrived it, it measured 2" by 0.5" and was 37mm long (sorry for the imperial/metric mix but it doesn't really matter). I had to cut it down to length and did so using a hacksaw.
Of course, I did a terrible job with the hacksaw (very aptly named tool, in the hands of an idiot - what chance did I have?). The cut was not perpendicular so I had to even it out with abrasives on a flat surface.

Figure 2: Brass bar after cutting down to size
Next came the mounting holes. For this particular trem block it is thankfully very simple with only 2 sets of holes, one to mount to the base plate (i.e. the bridge that you see from the front of the guitar) on; and another set of holes on the other side to hook the trem springs onto. The trem arm is attached directly to the base plate, unlike a strat trem block where the arm attaches to the trem block.
Some research and planning has to be done because you will need to figure out an acceptable position for the new block, in my case the new block was thicker than the old one, so I had to make sure it wasn't going to obstruct any travel of the bridge. You will also have to transfer the mounting holes onto the new trem block - you can use the baseplate for this, along with either a centre punch or a centering drill bit (I can't remember which I used). The right sized drill bit needs to be used to create the holes that then need to be tapped to match the thread that the 3 bolts will screw into.

Figure 3 shows the original bridge with it's 3 mounting holes, next to the new block placed on top of the existing base plate
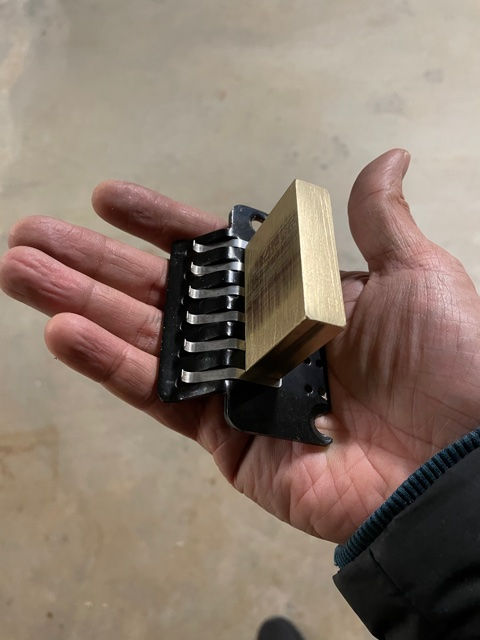
Figure 4: Base plate has now been mounted onto the trem block
Next: MORE planning! What did you expect? We have to work out the positioning of the holes for the trem springs. You cannot just transfer them if your new block has different dimensions to the old one, so I thought it best to install the bridge and then measure/mark out where I thought the spring holes needed to be positioned so that the springs would have an unobstructed space to stretch into.
I marked these out and used a centre punch as per figure 5

Figure 5: Working in nature
Then it was off to the drill press. One important thing to note is that the holes for the springs are not drilled "straight down" - there has to be an angle otherwise the springs will not hook easily onto them and you run the risk of springs popping off, or not attaching at all. How do you work out the angle? Well, I just roughed it out by comparing it to the original block, then creating a makeshift jig to hold the block at that angle for the drill press.
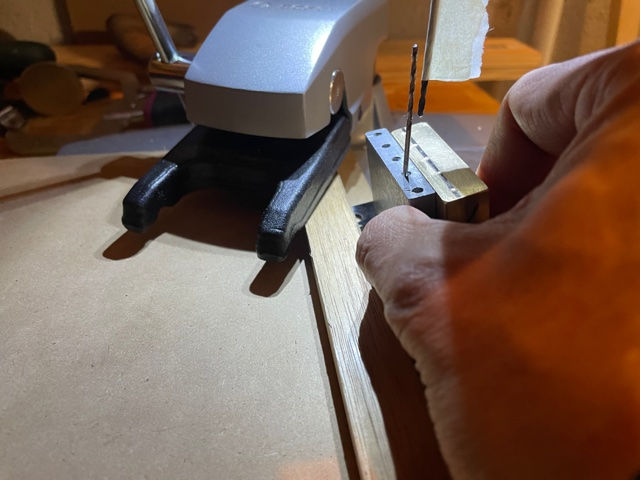
Figure 6: Compare the angles to the original, then start drilling..."she'll be right" as they say

Figure 7: Hoping for the best!
After that...well, you may want to countersink the holes you just drilled. I meant to but I didn't. I think at some point I chamfered the edges of the block so they weren't so sharp but that's about it as far as beautifying the damn thing. You're just about done at that point...time to install it and....SUCCESS!
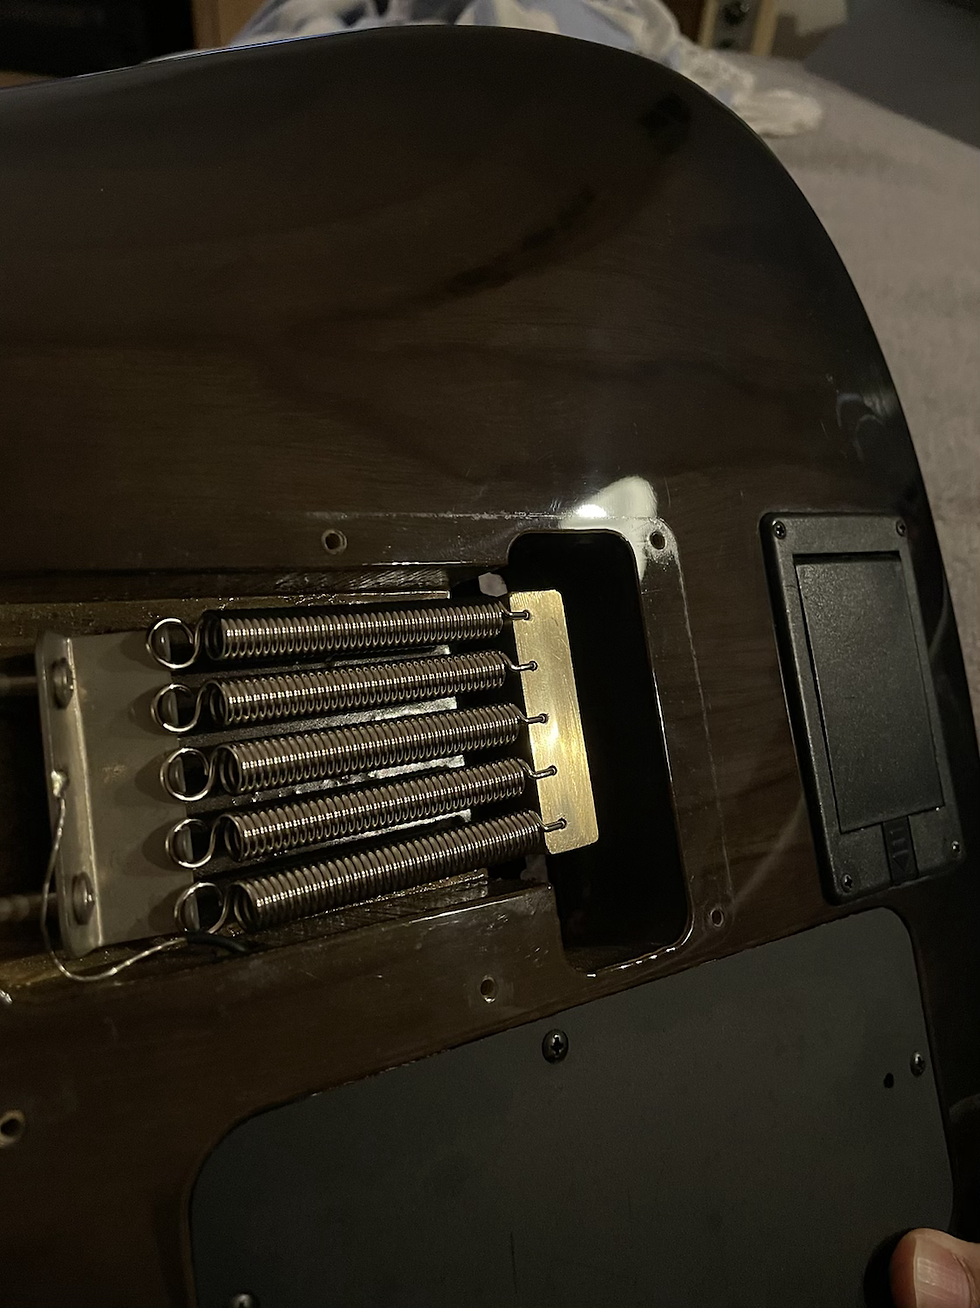
Figure 8: OK, it could be a little straighter but, it works and I ain't going through all those steps again
The best thing about this? I did it so long ago that I had forgotten doing it until I dug up this old draft blog post and decided to complete it. In this case, success is when you forget it's there and you don't have to constantly adjust things and fix things...it works just as well as the older one but it's a lot heavier and made outta brass.
Anyway - this post is not just to document for myself what I did, but also a message to anyone reading and contemplating doing a similar DIY project that it really is not that bad. If you don't have results you like, you still have the original base plate and original trem block to revert back to. And if you're anything like me, you would have learned some stuff working with new materials like brass. If you have the tools lying around, it really only cost <$30...that's a pretty good price for a learning experience.
This post contains affiliate links. If you click through and make a purchase, I may earn a small commission at no extra cost to you
Links to previous Fernandes Blog Posts:


Comments